Keeping your trees healthy and beautiful is about more than just watering them. Proper pruning is a key part of tree care that helps them thrive. By removing the right branches at the best time, you can improve your tree’s condition, prevent safety hazards, and promote strong growth. Many people worry about harming their trees, but with a little knowledge, you can prune with confidence. This guide will walk you through the essential steps for successful tree care.
Understanding Tree Pruning and Trimming
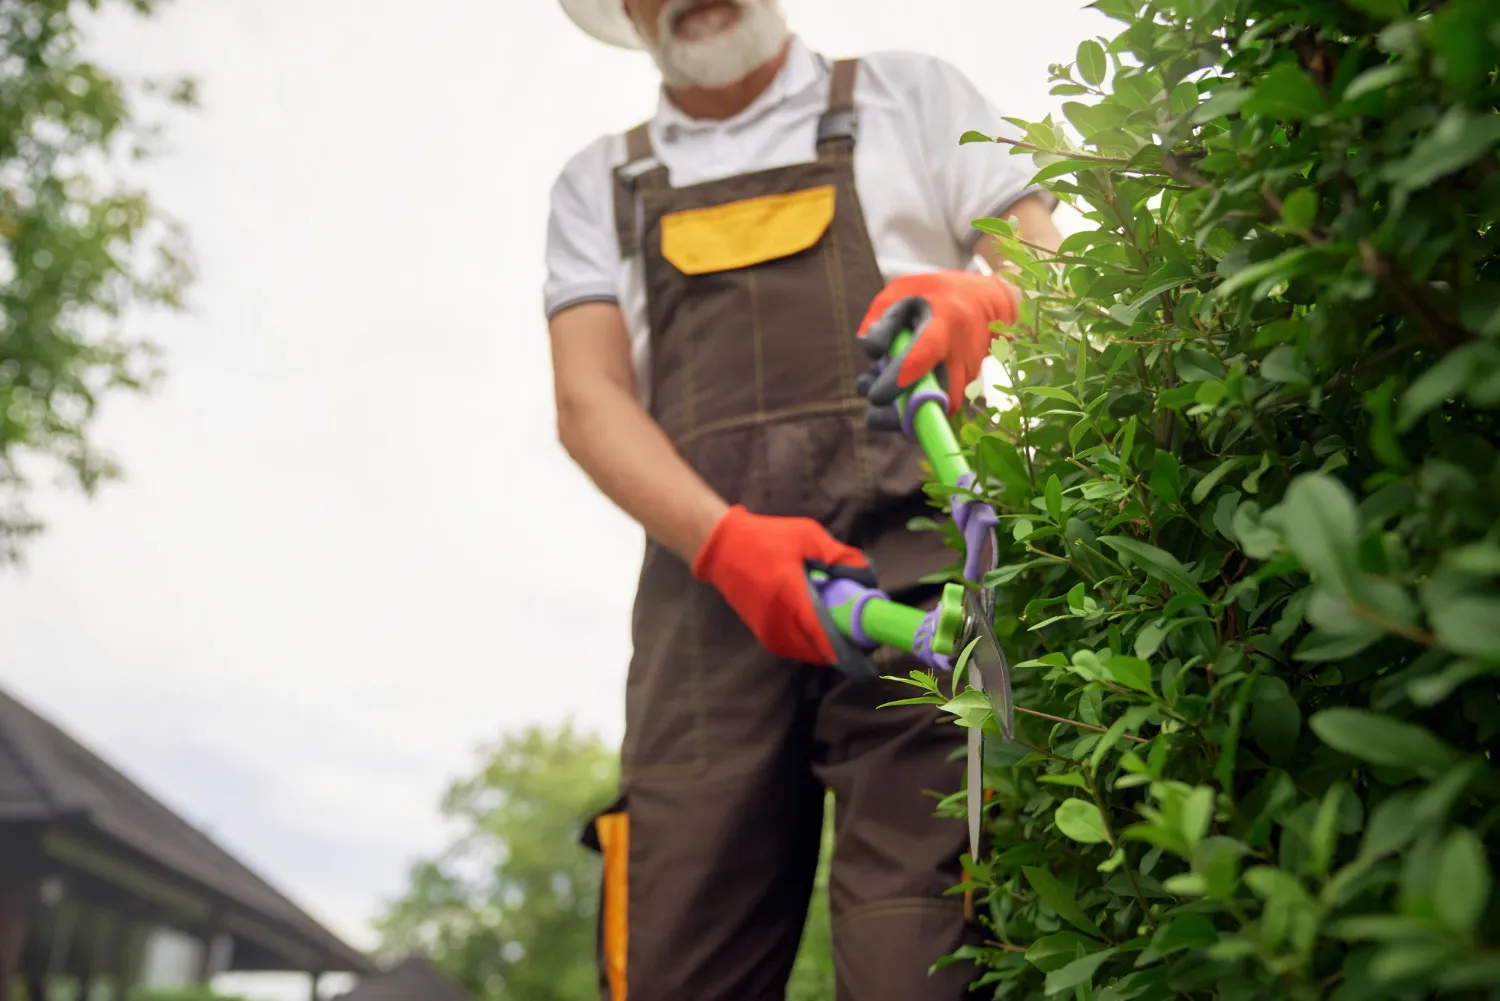
Pruning and tree trimming are often used to mean the same thing, but they have slightly different goals. Pruning focuses on the tree’s health, involving the removal of dead, diseased, or crossing branches. It’s a careful process using specific pruning techniques to ensure the tree heals well.
Trimming, on the other hand, is more about shaping the tree for appearance or to keep it from growing into unwanted areas. Techniques like crown reduction on mature trees are specialized forms of pruning. Let’s look closer at why these practices are so important and how they differ.
Why Pruning and Trimming Are Essential for Tree Health
Pruning is like preventative healthcare for your trees. One of the main reasons to prune is to remove dead or diseased wood. These weak branches can be an entry point for diseases and insect infestation, which can spread to the rest of the tree. By cutting them away, you help keep the tree strong and healthy.
Another key benefit is encouraging healthy new growth. When you selectively remove certain branches, the tree can direct its energy to developing stronger limbs, leaves, and even more flowers or fruit. Proper pruning also improves air circulation and sunlight penetration throughout the canopy, which further reduces the risk of fungal diseases.
Without regular care, branches can rub together, creating wounds that invite problems. Improper trimming can definitely harm your tree, creating large wounds that don’t heal well and make the tree vulnerable. Correct pruning is essential for a long, healthy life.
Differences Between Pruning and Trimming
While people often use the terms interchangeably, there’s a subtle difference between pruning and trimming. Pruning is about the health and structure of the tree. It involves making a strategic pruning cut to remove specific tree branches that are dead, diseased, or growing incorrectly. The focus is on the tree’s long-term well-being.
Trimming is generally done for aesthetics and maintenance. It’s about shaping a plant, like a hedge, or keeping branches from interfering with power lines or walkways. It’s more about controlling size and shape than improving health.
Here’s a simple breakdown:
- Pruning: Focuses on tree health, removing dead or problematic branches, and ensuring a strong structure. It involves making clean cuts near the branch collar.
- Trimming: Focuses on appearance and size control, such as shaping hedges or clearing branches away from structures.
Benefits for Safety, Appearance, and Longevity
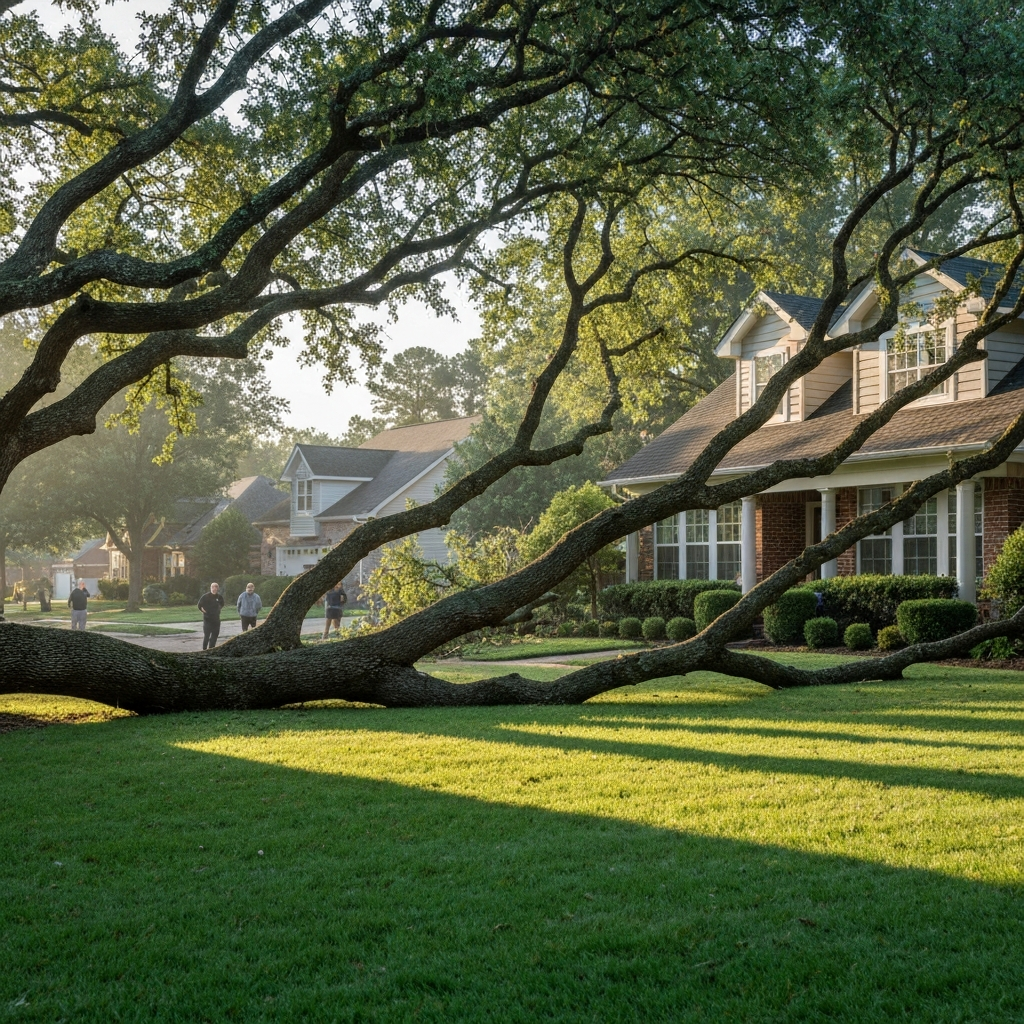
Proper tree care offers significant benefits beyond just health. A major one is safety. Removing dead or weak branches reduces the risk of them falling during a storm, which can prevent property damage or injury. Eliminating these potential hazards is a critical reason to prune regularly.
Pruning can also dramatically boost appearance. Techniques like crown raising, which involves removing lower branches, can provide clearance over sidewalks and lawns. A well-maintained tree has a beautiful, natural form that enhances your entire landscape. This upkeep not only looks great but also contributes to the tree’s longevity by preventing structural problems.
Key benefits include:
- Safety: Removes weak limbs that could fall and cause harm.
- Appearance: Shapes the tree for a tidy, attractive look.
- Longevity: Promotes a strong structure, helping the tree live a long, healthy life.
What You Need to Get Started
Before you make a single cut, it’s important to have the right tools for the job. Using improper tools can make the work harder and may even damage the tree. Basic equipment includes hand shears for small twigs and a pruning saw for larger branches. Keeping your tools sharp and clean is just as important as choosing the correct ones.
In addition to cutting implements, you must have personal protective equipment. Safety should always be your top priority. In the following sections, we will identify the essential tools and safety gear you’ll need, as well as other important considerations before you begin.
Essential Tools for Tree Pruning and Trimming
Having the right equipment makes pruning easier and helps you make a clean pruning cut that heals properly. For most homeowners, a few key tools will cover all basic needs. You don’t need a massive collection, just the correct items for the branches you plan to remove.
For small branches up to 3/4 inch in diameter, a good pair of pruning shears is essential. For larger branches up to 1 1/2 inches, lopping shears provide the extra leverage you need. When you encounter even larger branches, a pruning saw is the tool of choice. A tri-cut or razor-tooth saw can handle branches up to 4 inches thick with ease.
Here are the must-have tools:
- Pruning Shears: For small twigs and branches.
- Lopping Shears: For medium-sized branches needing more leverage.
- Pruning Saw: For larger branches that shears can’t handle.
- Hedge Shears: Specifically for shaping hedges, not for tree branches. Always keep your tools sharp and clean to prevent spreading disease.
Personal Protective Equipment and Safety Gear
Safety is non-negotiable when pruning trees. Falling branches and sharp tools create potential hazards that can lead to personal injury if you are not careful. Always wear the proper safety gear, no matter how small the job seems. This is the first and most important step in protecting yourself.
At a minimum, you should always wear safety glasses to protect your eyes from twigs, sawdust, and other debris. Sturdy gloves will protect your hands from cuts and blisters. If you are working with larger branches or using a chainsaw, additional gear like a hard hat and protective clothing is necessary.
Before you start, assess the conditions. Avoid pruning on days with high winds. Here’s a basic safety checklist:
- Eye Protection: Always wear safety glasses or goggles.
- Hand Protection: Use durable gloves to protect your hands.
- Awareness: Be mindful of your surroundings, especially power lines and people nearby.
Checking Tree Species and Local Regulations
Not all trees are the same, so it’s important to identify your tree species before you start pruning. Different trees have different growth habits and may need to be pruned at specific times of the year. For example, oak and elm trees should only be pruned in the dormant season to avoid diseases like oak wilt.
Additionally, some areas have local regulations regarding tree trimming, especially for large trees or those near public property. It’s always a good idea to check with your city or homeowners’ association to see if any permits are required. This can save you from potential fines or disputes with neighbors.
When in doubt, it is wise to consult a certified arborist. They can help you:
- Identify your tree species and its specific needs.
- Understand any local regulations that might apply.
- Determine the best pruning approach for your tree’s health and safety.
Step-by-Step Guide: How to Prune and Trim Trees
Now that you have the right tools and have prepared for safety, it’s time to learn how to prune. Following a clear, step-by-step guide will help you make the right choices and execute a proper pruning cut. The goal is to improve the tree’s branch structure without causing unnecessary harm.
From assessing the tree’s health to making that final cut, each step is important. We will cover how to decide which branches to remove, the correct technique for cutting, and what to do after the job is done.
Step 1: Assessing Tree Health and Branch Structure
The first step in any pruning job is to take a good look at your tree. Step back and examine its overall shape and branch structure. Your goal is to get a clear picture of the tree’s condition before you decide what to remove. Look for obvious problems that need immediate attention.
Start by identifying any dead branches, which will often have no leaves and appear dry and brittle. Also, check for signs of disease or insect infestation, such as discolored bark, unusual growths, or holes in the wood. Branches that are broken or have been damaged by storms should be at the top of your removal list.
Assessing the tree first helps you create a plan. This initial inspection ensures you only remove what’s necessary and avoid cutting healthy limbs by mistake. A careful assessment is the foundation of good pruning and helps you avoid harming your tree.
Step 2: Choosing Which Branches to Trim
Once you’ve assessed the tree, it’s time to decide which branches to cut. The easiest choices are the “three Ds”: dead, damaged, and diseased wood. These branches offer no benefit to the tree and can be a source of future problems. Removing them is always the first priority.
Next, look for branches that are crossing or rubbing against each other. This friction can create wounds in the bark, leaving the tree vulnerable to disease. You should remove one of the competing branches. Also, look for suckers, which are small shoots growing from the base of the tree, and watersprouts, which are fast-growing vertical shoots on branches. These divert energy from the main parts of the tree.
Here’s a list of branches to prioritize for removal:
- Dead, damaged, or diseased branches.
- Branches that cross or rub against each other.
- Suckers and watersprouts.
Step 3: Making Proper Pruning Cuts
How you cut is just as important as where you cut. For proper pruning, the goal is to make clean cuts that the tree can heal easily. For small branches, make your pruning cut about 1/4 inch above an outward-facing bud. This encourages new growth to go out, away from the center of the tree.
For larger branches, you need to locate the branch collar. This is the swollen area of tissue at the base of the branch where it connects to the trunk. You want to cut just outside of this collar, without leaving a long stub and without cutting into the collar itself. This area contains special cells that will seal the wound.
To remove large limbs safely and avoid tearing the bark, use the three-cut method:
- First Cut: Make an undercut 18 inches from the trunk, about one-third of the way through the branch.
- Second Cut: Cut from the top, an inch farther out from the first cut, until the branch falls away.
- Final Cut: Remove the remaining stub just outside the branch collar.
Step 4: Avoiding Common Mistakes and Best Practices
Knowing what not to do is crucial for tree health. One of the biggest mistakes is “topping,” which involves cutting off the top of the tree. This creates large wounds and encourages weak, hazardous new growth. It permanently damages the tree’s natural shape and structure.
Another common error is making improper cuts. Cutting too close to the trunk (a flush cut) or leaving long stubs can prevent the tree from healing and lead to decay. When removing large limbs, always use the three-cut method to prevent the bark from tearing down the trunk, which creates a large, damaging wound.
Here are some key mistakes to avoid:
- Topping a tree: Never cut off the main vertical leader.
- Leaving stubs: Make cuts just outside the branch collar.
- Removing too much: Never remove more than 25% of the tree’s live foliage in one year.
Step 5: Cleaning Up and Caring for the Tree Afterwards
After you’ve finished pruning, the job isn’t quite done. Cleaning up the fallen branches and debris is important for safety and the appearance of your yard. It also allows you to inspect your work and the tree’s new shape.
Your tree will now begin the process of sealing its wounds. For most trees, it’s best not to apply any wound dressing or paint, as trees have a natural ability to heal. These dressings can trap moisture and hinder the healing process. Let the tree’s natural form guide you, and watch for healthy new growth in the coming season.
Aftercare tips include:
- Clean Up: Remove all pruned branches from the area.
- No Dressing: Avoid applying wound paint to pruning cuts.
- Monitor: Keep an eye on the tree for signs of stress or disease, especially after heavy pruning.
Why and When You Need Professional Tree Pruning and Trimming Services Like TreesRx
While DIY pruning is great for small, accessible jobs, some situations require a professional. If you’re dealing with large trees, high branches, or limbs near power lines, it’s always safest to call a certified arborist. Professionals like the team at TreesRx have the training, equipment, and insurance to handle hazardous jobs safely and effectively. Attempting this kind of work yourself can lead to serious injury or property damage. Incorrectly pruning a tree can certainly harm it, creating large wounds that invite disease and decay, or ruining its structure.
Certain trees also require special attention that only an expert can provide. A certified arborist understands tree biology and can make precise cuts that ensure the long-term health and stability of your tree. They know how to handle complex situations like crown reduction or removing heavy branches without damaging the tree or surrounding property. For any job that feels beyond your comfort level or requires climbing, hiring a professional service like TreesRx is a wise investment in your safety and your landscape’s health.
Timing and Frequency of Pruning
Timing is everything when it comes to pruning. The best time for most pruning is during the tree’s dormant season. This is typically in late winter or very early spring, before new growth starts. Pruning during this period minimizes stress on the tree and allows wounds to begin sealing quickly once growth resumes. The absence of leaves also makes it easier to see the branch structure.
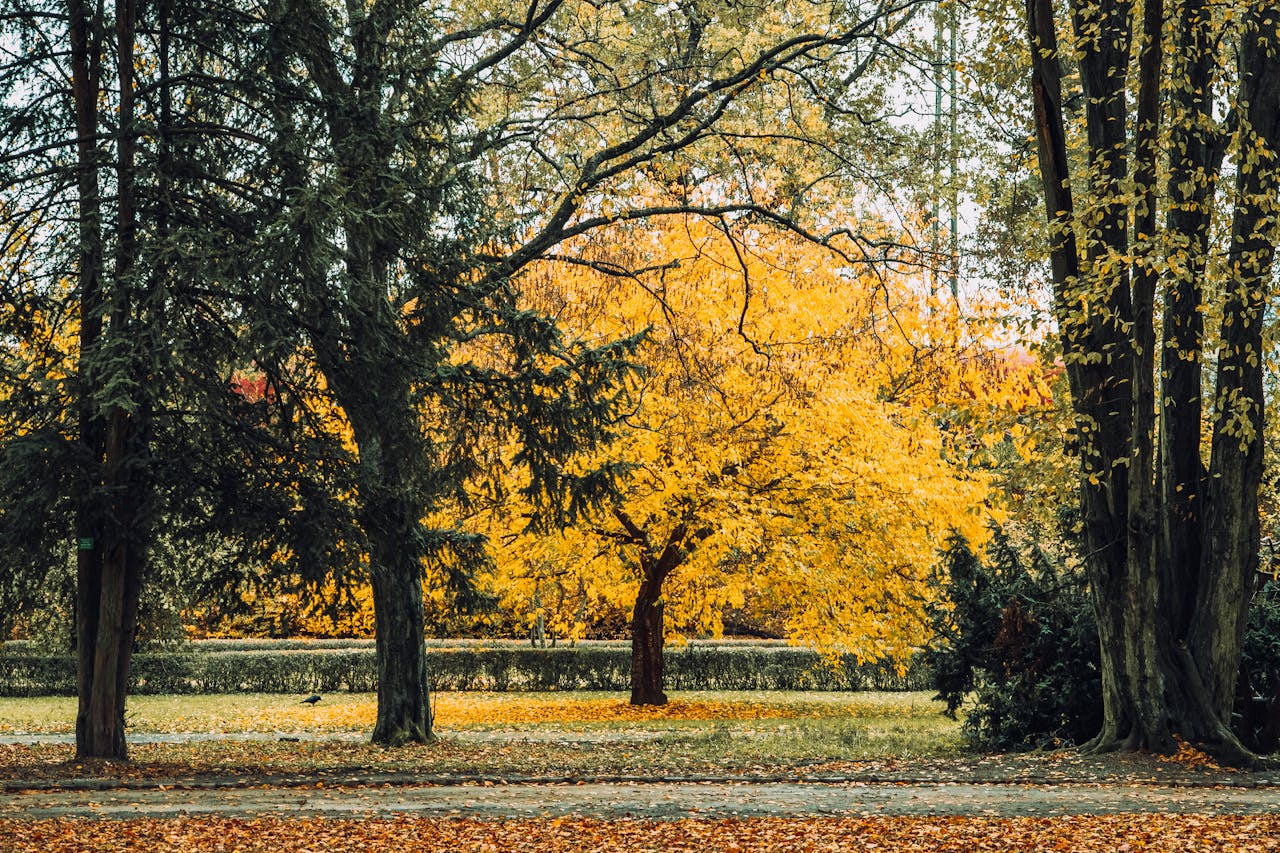
While late winter is ideal, some light pruning can be done at other times. However, heavy pruning during late spring or summer can stress the tree, and pruning in late fall can leave fresh cuts exposed to winter conditions. We’ll explore the best times for different trees and how often to prune for optimal health.
Best Times of Year to Prune Different Tree Types
The ideal pruning time often depends on the type of tree. For most deciduous trees, the best time to prune is during the dormant season in late winter or early spring. At this time, it’s easy to see the branch structure, and the tree will heal quickly as spring growth begins.
However, there are important exceptions. Trees that bloom in early spring on old wood, like lilacs and magnolias, should be pruned right after they finish flowering. If you prune them in the winter, you’ll cut off the buds for the upcoming season’s flowers. Some trees, like maples and birches, tend to “bleed” sap if pruned in late winter, so it’s better to prune them after their leaves have fully developed. For oaks, winter pruning is essential to prevent oak wilt disease.
Here is a general guide:
Tree Type | Best Time to Prune | Why? |
Most Deciduous Trees | Late winter to early spring (dormant) | Clear visibility, fast wound healing, low disease risk. |
Spring-Blooming Trees (e.g., Lilac) | Immediately after blooming | Prevents cutting off next year’s flower buds. |
Oak and Elm Trees | Late fall or winter (dormant) | Avoids attracting beetles that spread serious diseases. |
Maple, Birch, Walnut Trees | Late spring or early summer (after leaves open) | Prevents heavy sap bleeding from fresh cuts. |
How Often Should You Trim Trees for Optimal Health
The frequency of pruning depends on the tree’s age, species, and health. Young trees benefit from more frequent, light pruning to help them develop a strong structure. This regular trimming in the early years prevents the need for major corrective pruning later on.
Mature trees, on the other hand, typically require less frequent pruning. For most established trees, a good inspection and trim every three to five years is sufficient to remove dead wood and maintain their shape and health. However, some fast-growing species or fruit trees might need annual attention to remain productive and well-shaped.
For optimal health, consider the following schedule:
- Young Trees: Prune lightly every one to two years to establish good structure.
- Mature Trees: Prune every three to five years to remove dead wood and maintain health.
- Fruit Trees: May require annual pruning to encourage fruit production.
Conclusion
In conclusion, understanding the art of pruning and trimming trees is essential for maintaining their health, appearance, and safety. By following the guidelines outlined in this comprehensive guide, you can ensure that your trees receive the care they need at the right times. Remember, whether you’re a DIY enthusiast or a homeowner seeking professional help, proper techniques and tools are key to successful tree management. If you’re unsure or require assistance, consider reaching out to our team at TreesRx for expert pruning and trimming services tailored to your specific needs. Caring for your trees not only enhances your landscape but also contributes to the overall wellbeing of the environment.
Frequently Asked Questions
We understand you have questions about keeping your trees healthy. Here are some common ones we hear:
Can improper trimming harm my tree?
Yes, improper trimming can severely harm a tree. Bad cuts that damage the branch collar, leaving stubs, or “topping” a tree can create large wounds that invite disease and decay. This stress can weaken the tree, leading to an unhealthy structure and even death over time. Proper pruning is essential for healing.
Do young and mature trees require different pruning methods?
Yes, they do. Young trees need frequent, light pruning to establish a strong central leader and good branch spacing, which encourages healthy new growth. Mature trees are pruned less often, focusing on removing dead or weak limbs and sometimes crown reduction to manage size, rather than shaping their primary structure.
What should I do after a storm or heavy wind?
After a storm, inspect your trees for storm damage. Carefully remove any small, broken, or dead branches you can safely reach. For large, hanging limbs or significant damage, it’s best to call a professional arborist to safely handle these potential hazards and prevent further property damage or personal injury.
Are there signs that my tree needs immediate attention?
Yes. Look for large dead branches, cracks in the trunk, or signs of diseased wood like mushrooms growing at the base of the tree. Sudden leaning, significant insect infestation, or a large percentage of the canopy without live foliage are all signs that your tree needs immediate professional evaluation.